

Materials Needed:
Thread
Heavy weight fusible interfacing (I used Pellon. I used about 4.5 yards for my projects)
Fabric
Note: I made three runners of three different sizes. 1- 14.5" x 72" 1-14.5" x 60" and 1-24" x 24" (it's a square but we'll call it a runner anyway). For these three, I purchases 3.5 yards of fabric A and 2.75 yards of fabric B. I had a lot of scraps left over to make other things. Unless you want a seam in the middle of your runner, purchase a length of fabric that is slightly longer than your finished length. I.E. If you want a 60" runner, go ahead and purchase 2 yards of fabric. Between squaring the edges and seam allowances, you'll need the few extra inches.
Step One
Pre-wash, press, and square your fabric. DO NOT SKIP THE PRE-WASHING. This is going on your table. During a meal. If your family is anything like mine, there will be food splotches on the runner, even if you are serving PB&J for Easter. You'll want to be able to wash your runner without it shrinking. Prewash and you won't have to worry about your runner suddenly becoming a different shape in the wash.
Most fabrics will come out of the drier crumpled, wrinkly, and possibly smaller than when they went in. You will need to press the fabric, even if it looks okay. Just take the time and do it right. I am the queen of skipped steps and usually live to regret it. Learn from my errors.
You will also want to square up the ends of your fabric, as I doubt that it was cut absolutely perfectly in the store. If you don't know how to do that, I recommend THIS tutorial for detailed instructions.
Step Two
Cut your fabric and interfacing to the dimensions you want, plus seam allowances. So for my big runner, I wanted to finished dimensions to be 15.5 x 72. I used a generous .5" seam allowance on all sides so I cut my fabric to 16.5" x 73".
Hint: I did not want my edges and corners to be bulky. In order to de-bulk the edges and corners, I made some adjustments in how I cut the interfacing. I cut the interfacing to 16" x 72.5", giving myself an extra 1/4 inch all the way around on the fabric. I also notched my corners on my interfacing so there would be less bulk when all is said and done.
 |
| See that notch in the corner? Yeah, that's what you want. |
Step Three
Fuse interfacing to the wrong side of top fabric. Interfacing comes with fusing instructions but I'll outline the basics for you here. I greatly prefer fusible to sewn in because it is easier to use. Press and go. I like that.
 |
| Lay fabric wrong-side up on ironing board |
 |
| Lay interfacing dot side down over top of fabric, lining it up. Notice that my interfacing is slightly smaller. This will de-bulk my side seams. |
 |
| Look at it all nice and lined up and stuff. |
 |
| Press firmly with the iron, using steam. This will melt those little dots and fuse it to your fabric. Fuse all the way down, making sure the edges aren't peeling up. |
Step Four (optional)
Realize you forgot to prewash your contrasting fabric. Throw that in washer and decide you've had enough sewing for one evening. Watch HGTV until brain melts. Sleep and wake up ready to sew--well, after a few cups of coffee, of course. Consider getting dressed. Decide that your sewing machine doesn't care if you are in your pajamas. Get back to work.
Step Five
Make yourself a sandwich--a fabric sandwich, that is. Line up your fabrics with the right sides together. My sandwich was like this: Interfacing/Fabric A with pattern up, Fabric B. Pin fabric together.

 |
| I usually mark where the opening will be by positioning my pins like so. I know it's hard to see in the image (sorry!) but two pins are placed parallel to the edge of the fabric where the opening will be. |
Step Six
Stitch the perimeter using half inch seam allowances, leaving a gap to turn right side out. If you have far more patience than me, you can hand sew but I used my machine. Before turning the fabric right side out, I do one more step to help make my corners sharp.
 |
| Sorry for the blurry but you can kind of see that instead of 45ing my corners off, I clipped them very close to the stitching and tapered them off toward the edge. |
Step Seven
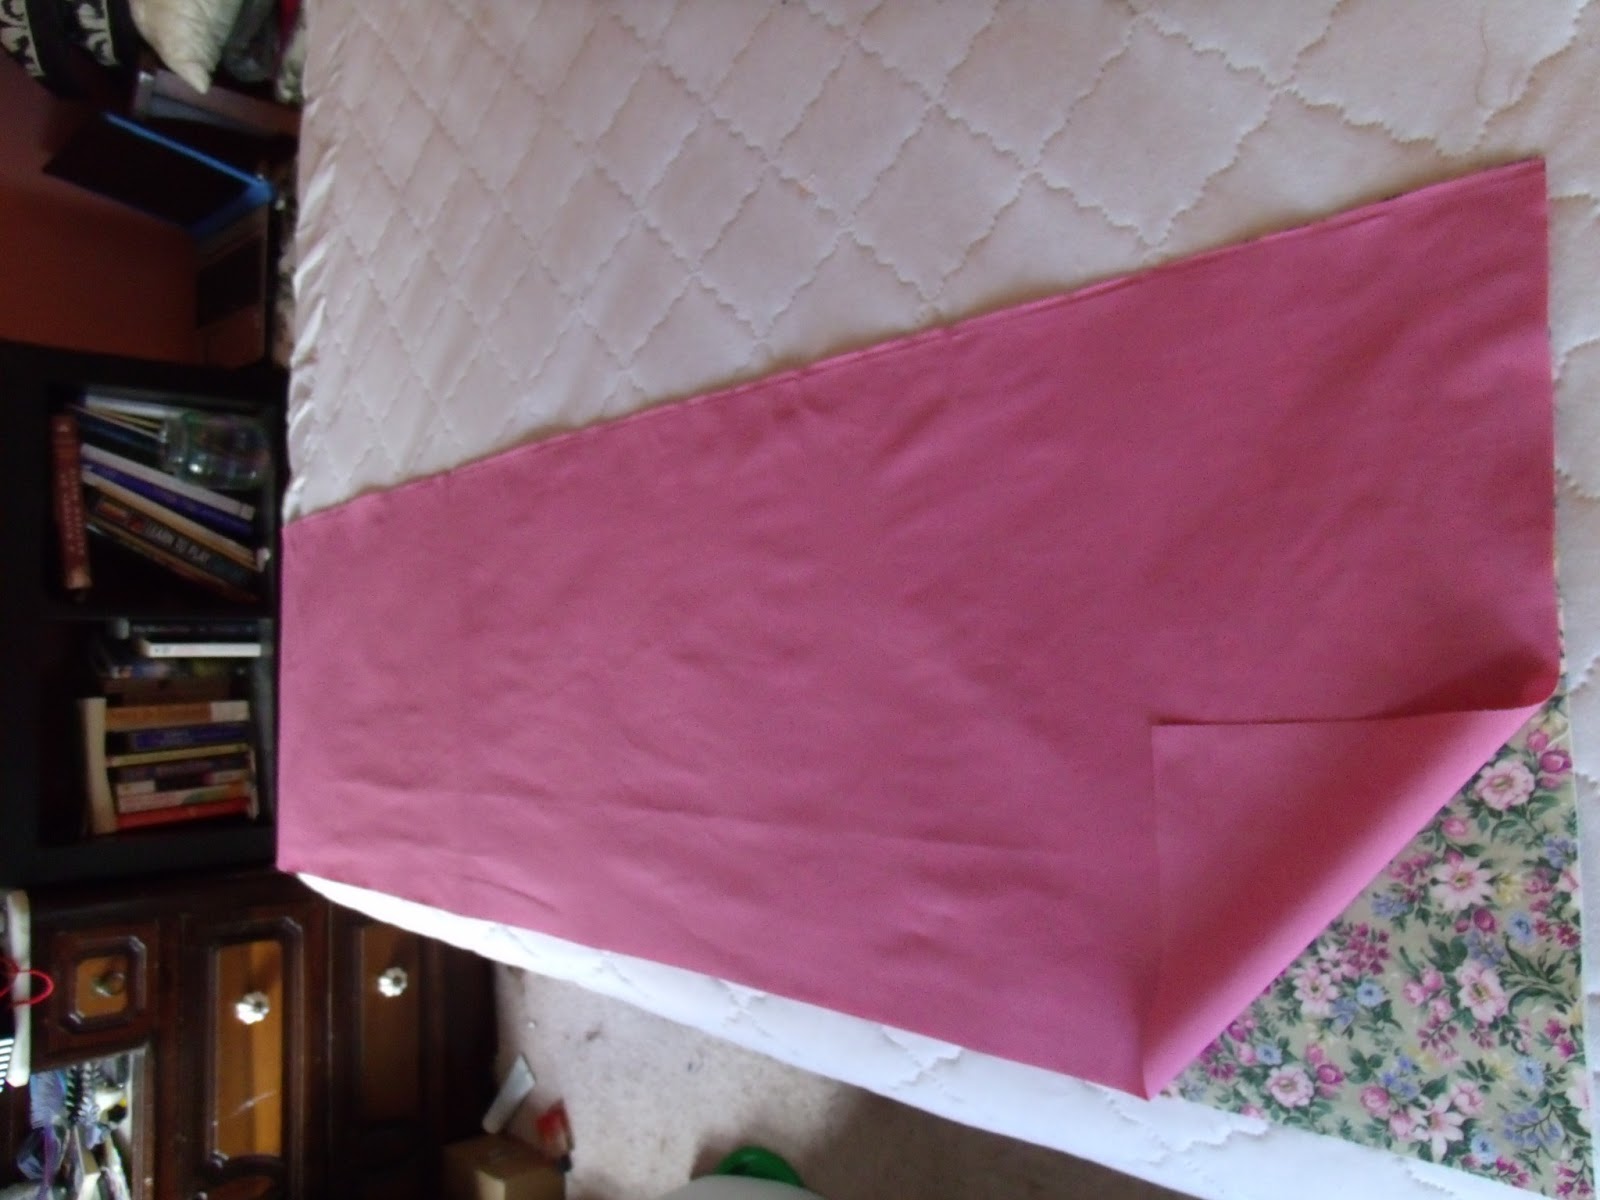
Turn whole thing right side out. It will look rather silly but you aren't done yet so don't fret!
 |
| See? What did I just say? Very silly indeed. |
Step Eight
Press the bejeezuz out of that thing. I start by sticking my arm all up in that thing and pushing out all of the corners. I will often use a sharp stick to poke them out, if that makes sense. Then press the living daylights out of it so it lays nice a flat with straight sides.
 |
| That almost looks like something I would put on my table now. |
Step Nine
Top stitch around the edges. I used one of the decorative stitch options on my machine. This step is technically optional but it will make it look nicer and come out better in the wash. I wish I had pictures of this step but alas, they were all way out of focus.
This is the point in my runner making where I decided it might be time to put on pants since it was past noon and I was going to take pictures in our dining room that has lots of windows and other reflective surfaces. Ah well. I suppose we all have to put on our big girl clothes at some point.

And there you have it folks. So quick and easy you could whip it up today for tomorrow's Easter dinner. Hope you enjoyed!

No comments:
Post a Comment